Virtual Reality Tutorials
Tutorials were created as module levels with the purpose of integrating them into any part of the game with minimum effort. Having to teach players around a dozen mechanics and systems led to a wide variety of tutorial environments and gameplay. Each of the ten tutorials is described as a "virtual reality calibration program" that the player's character routinely does to stay in working order.
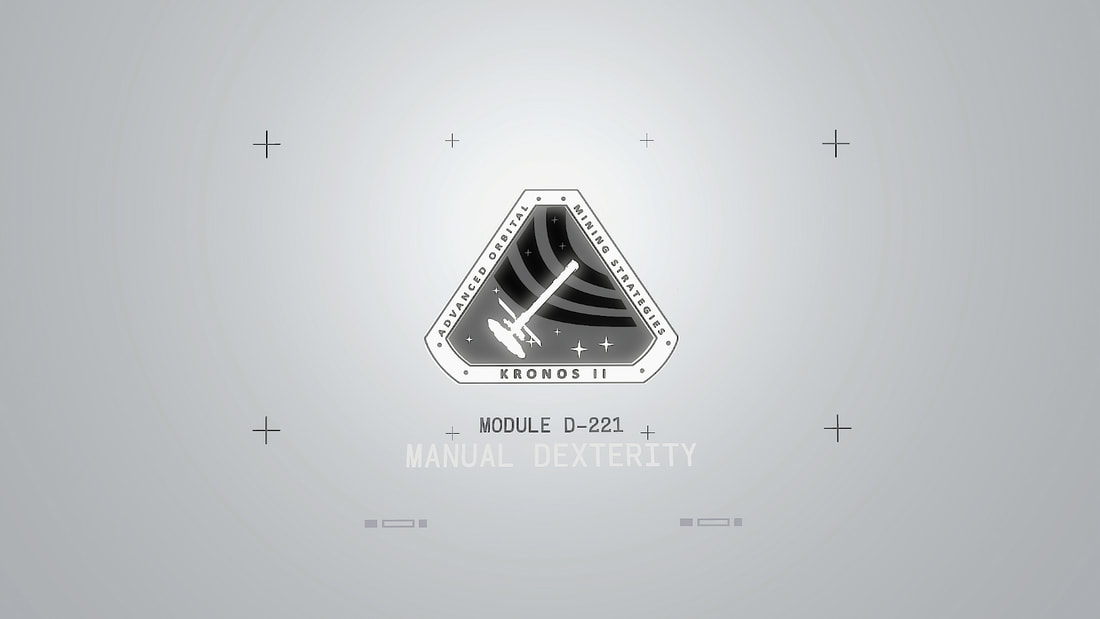
Transitioning title screen for Manual Dexterity tutorial level
|
The tutorials are spread out throughout the Kronos II Station only becoming available when players encounter a task they haven't completed before. So when a player has to use their reactive cutter tool for the first time, then the Reactive Cutter tutorial becomes available for players to access.
|
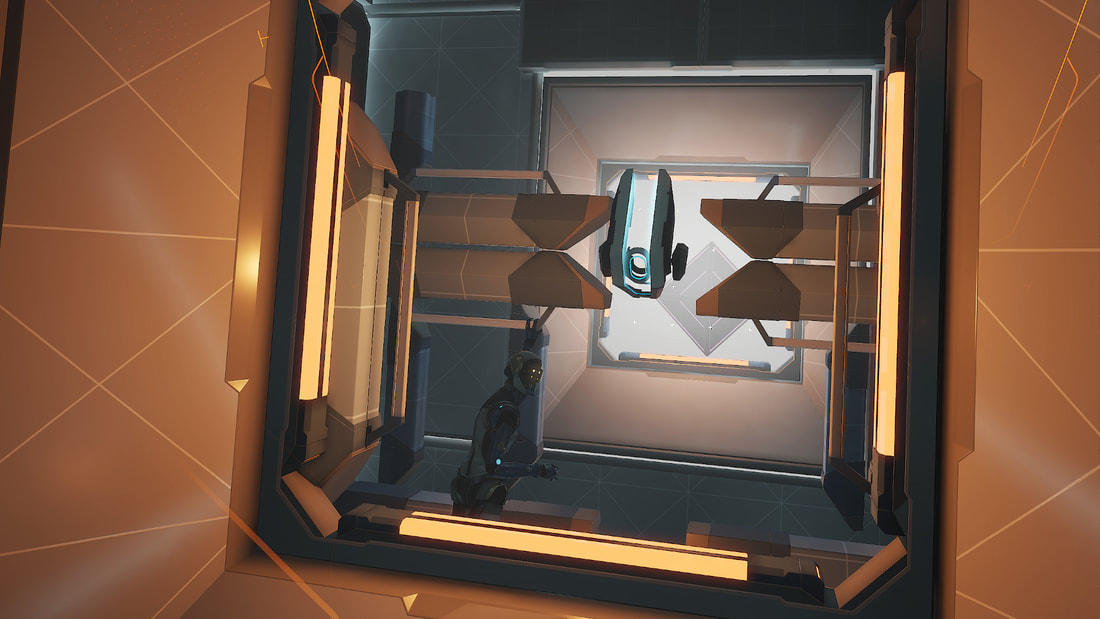
Once a tutorial is activated, the player is first taken to a title screen telling players the name and identification number of the calibration program they are now entering. This effectively acts as a transition as the player is loaded into the tutorial environment. Every tutorial starts players inside of an activation pod that only releases players after certain gameplay related conditions are met.
Designing Tutorial Environments
|
The environment of each tutorial level is uniquely designed for players to learn Lone Echo's game mechanics and systems while navigating in zero gravity. The first tutorial of Lone Echo, known as "Manual Dexterity," teaches players about how their virtual hands nimbly interact with the game world. By the second tutorial, known as "Basic Motor Functions," the player discovers the fluidity of Lone Echo's intricate movement system.
This meant that nine of the ten tutorial environments allowed players to get comfortable with navigating in zero gravity. |
Basic Motor Functions tutorial environment
|
In the Data Scanner tutorial players are taught how to activate and use the data scanner tool located on both of their virtual hands. Even though this is the fifth tutorial players encounter, its environment was designed to reinforce the movement systems taught back in the Basic Motor Functions tutorial. Also, the tutorial environments were carefully designed to give players good places to stop on or push off from to ease players into this revolutionary movement system. Beyond these basics tutorials like Data Scanner familiarized players with using the newly taught game mechanic or system while in a zero gravity environment.
Near the end of Maneuvering Thrusters tutorial level
For tutorials that taught more abstract concepts of moving in zero gravity like Maneuvering Thrusters or Primary Booster, their environments became critical to how well players learned those movement skills. To compare, the environment of the Data Scanner tutorial was designed to be comfortable to navigate while also accommodating the use of the data scanner tool, but an environment for Maneuvering Thrusters was designed primarily for players to learn how their maneuvering thrusters worked.
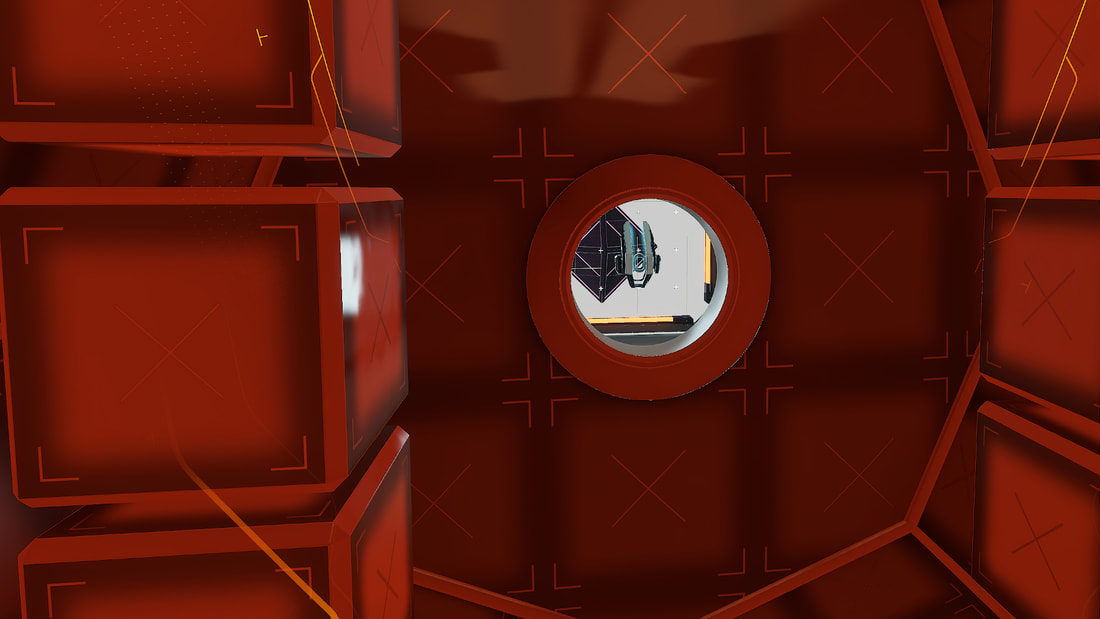
Since the tutorials took place in virtually constructed environments it allowed me to design the levels with unique features that did not have to obey "real world" physics. The thin gaps between floating wall pieces was for visual aesthetics, but also served the purpose of telling players that these environments are not real. The floating pillars, occasionally with handles attached, were designed to assist players with navigation and created places to stop in the environment. An added bonus with the floating pillars was that it gives players multiple ways of maneuvering around it while not obstructing the environment too much.
Designing Tutorial Gameplay
The design layout of the tutorial's gameplay beats or moment-to-moment gameplay required constant collaboration between the system designers and myself as gameplay systems and mechanics were finalized. Finding out the intended use of a system or mechanic and all of its moving parts was vital information to the creation of a tutorial. From here gameplay beats were created as a step-by-step guide to explain how the tutorial level would effectively teach its system or mechanic. Each tutorial had the goal of giving enough information for players to feel comfortable using the system or mechanic competently, while also staying as short and being as simplistic as possible.

Complete the Manual Dexterity tutorial by throwing the disc through the goal
Then I worked to implement the designed gameplay beats into the tutorial level with collaborative support from the gameplay scripters and programmers. All tutorial gameplay, interactions, and conditional states were implemented using a node based visual scripting editor. Each tutorial level went through a cycling process of playtesting, gathering feedback, iterative changes, and playtesting again until new players started showing signs of retaining the information that was taught.

Reading scan data in the Data Scanner tutorial level
|
Playtests for tutorials were first conducted with other developers around the studio not too familiar with Lone Echo's gameplay. But soon there were fresh new people brought in, some having never touched virtual reality before, to test the effectiveness of the tutorial levels. Once a tutorial was approved by the design department, it was locked down and passed among other departments for final work such as environmental art and sound.
|
Tutorial Annotations
Developing a new virtual reality title for a new game hardware system with a new style of controls presented a great challenge for Ready at Dawn. One major challenge for the tutorials was effectively communicating to players how to use the game mechanics and systems we the developers crafted for them. After collaborating extensively with system designers and the user interface department we created "tutorial annotations."
A "tutorial annotation" is a black and white two frame animation image on a bright orange circular background. The black and white image would represented what action players needed to perform in the tutorial and simulated simple movement by switching back and forth between its two frames of animation. Two kinds of annotations were created, System Annotations gave instructions on systems that players found on their game avatar. Environment Annotations showed players the next action they needed to take within the tutorial environment.
A "tutorial annotation" is a black and white two frame animation image on a bright orange circular background. The black and white image would represented what action players needed to perform in the tutorial and simulated simple movement by switching back and forth between its two frames of animation. Two kinds of annotations were created, System Annotations gave instructions on systems that players found on their game avatar. Environment Annotations showed players the next action they needed to take within the tutorial environment.
|
Pressing a button on the player's wrist to activate their reactive cutter or knowing which button on the touch controller activated the primary booster are examples of System Annotations. Any controls or systems attached to the player received a System Annotation to clearly indicate where that functionality existed. About half of the systems players used in Lone Echo were activated by pressing buttons on the touch controllers. That is why roughly two thirds of the System Annotations appeared with virtual touch controllers that players could see in the game.
|
Using primary booster in the Primary Booster tutorial level
|
A bright orange pointer was attached to the annotation's background to precisely point to specific buttons on the virtual controllers. Being able to toggle on and off System Annotations pointing to virtual touch controllers with animated buttons that also highlighted allowed the tutorials to effectively communicate system controls to players with relative ease.

Pressing the holo-button in the Manual Dexterity tutorial
|
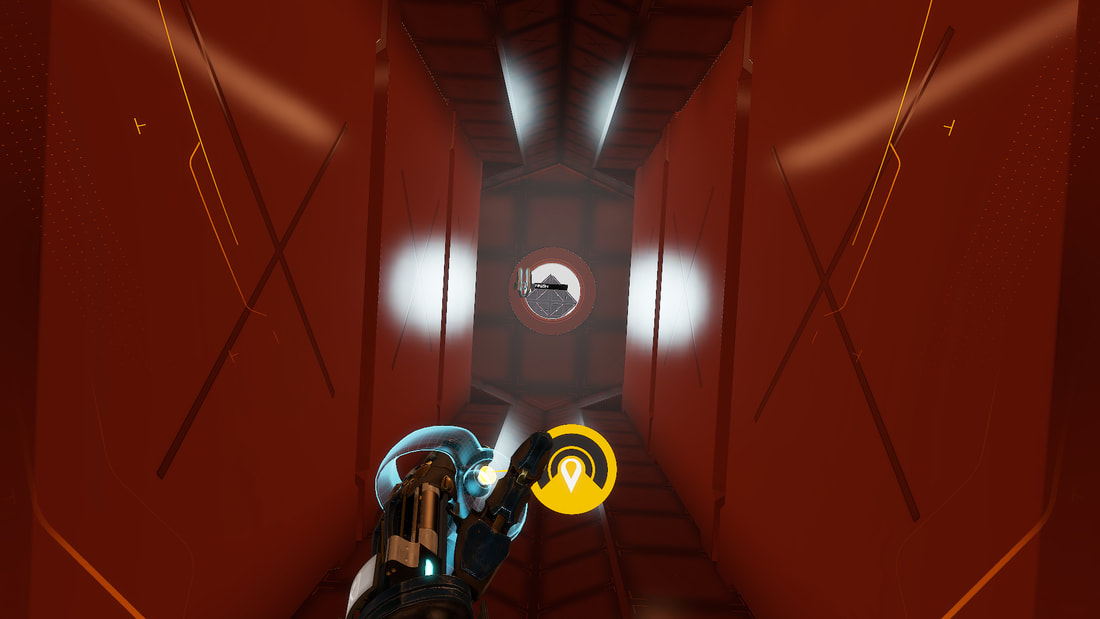
Environment Annotations appeared in the tutorial environments near interactive objects of importance to show players the next action they needed to perform. Anything from pressing a holographic button to lifting a sliding door are examples of Environment Annotations.
Annotations were not designed as a handicap for players to abuse but instead helpful reminders in case they got stuck. Following this design philosophy meant that most annotations do not immediately appear when the previous tutorial game beat is completed. |
If a player completed tutorial gameplay beats fast enough then they would rarely see any annotations appear. Each annotation had a conditional state that checked if players had already completed the required action, and if they had not by a designated time then the annotation would appear. Also, toggling on and off annotations was closely regulated as to prevent cluttering the players screen with too many blinking bright orange circles with moving images.
Tutorial AI Guides
In each tutorial level players encountered Hera, a virtual representation of the Kronos II Station's AI computer system. In two tutorials players also encountered a virtual representation of a robotic labor unit. These virtual characters acted as guides throughout the tutorial levels, helping players visually recognize where they needed to go or what they needed to activate.
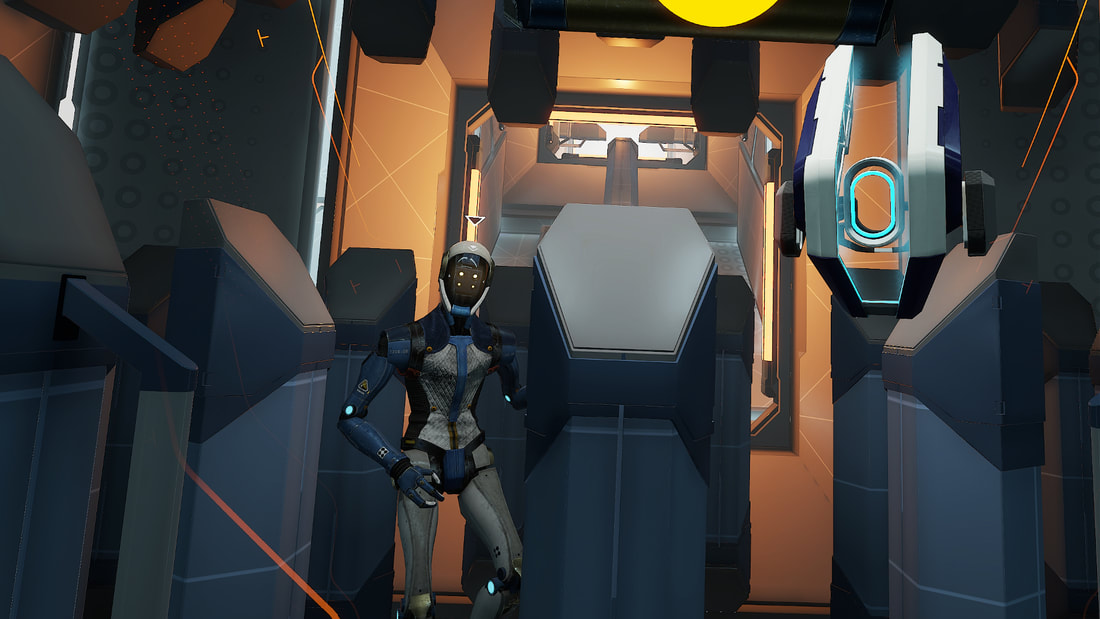
Hera and labor unit patiently wait for the player in Basic Motor Function tutorial
I was tasked with implementing these AI characters into the tutorial levels with conditional states to prevent their animations from overlapping or cancelling each other out. I also wrote the initial drafts of dialogue for these characters to give a more clear idea of the instructions that narrative designer would need to write in their final drafts.
